
Last updated November 5, 2026
 Wrought iron
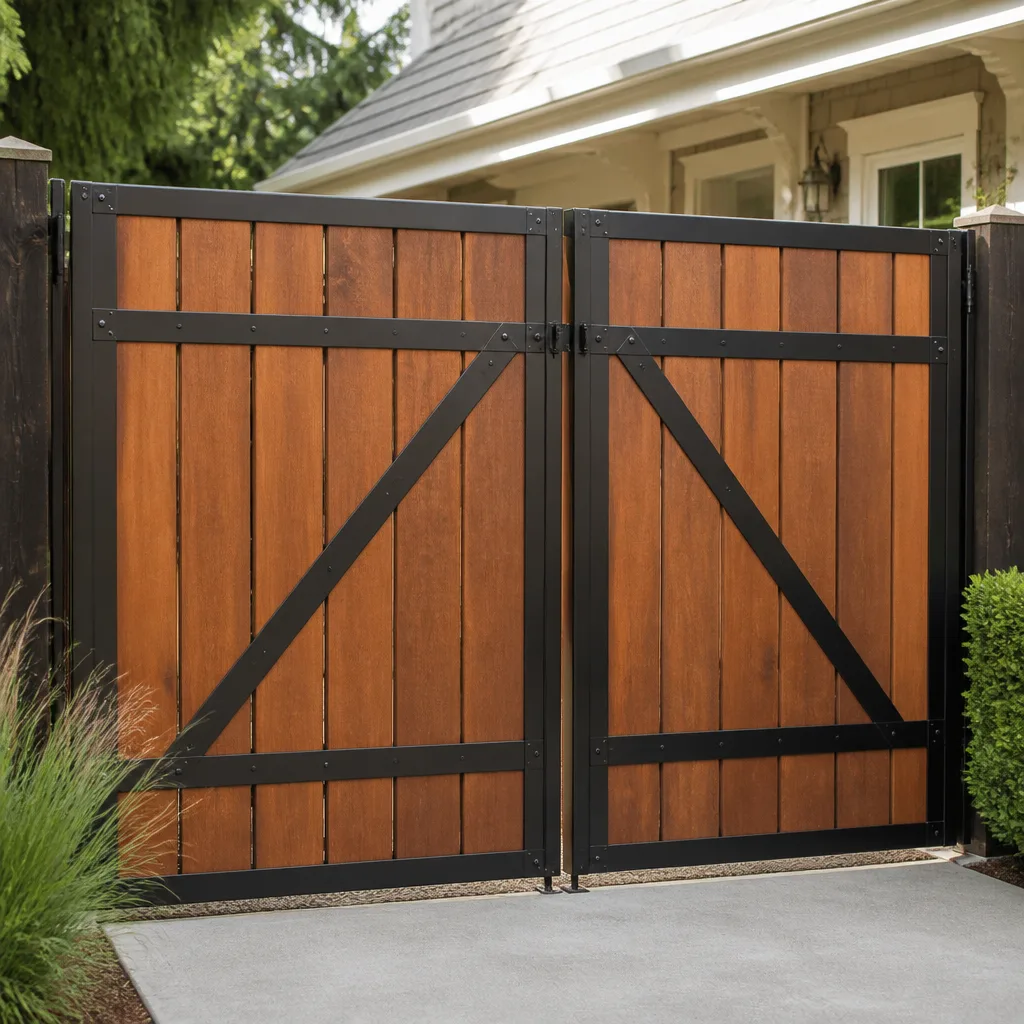 Wood & steel frame
 Farm & ranch
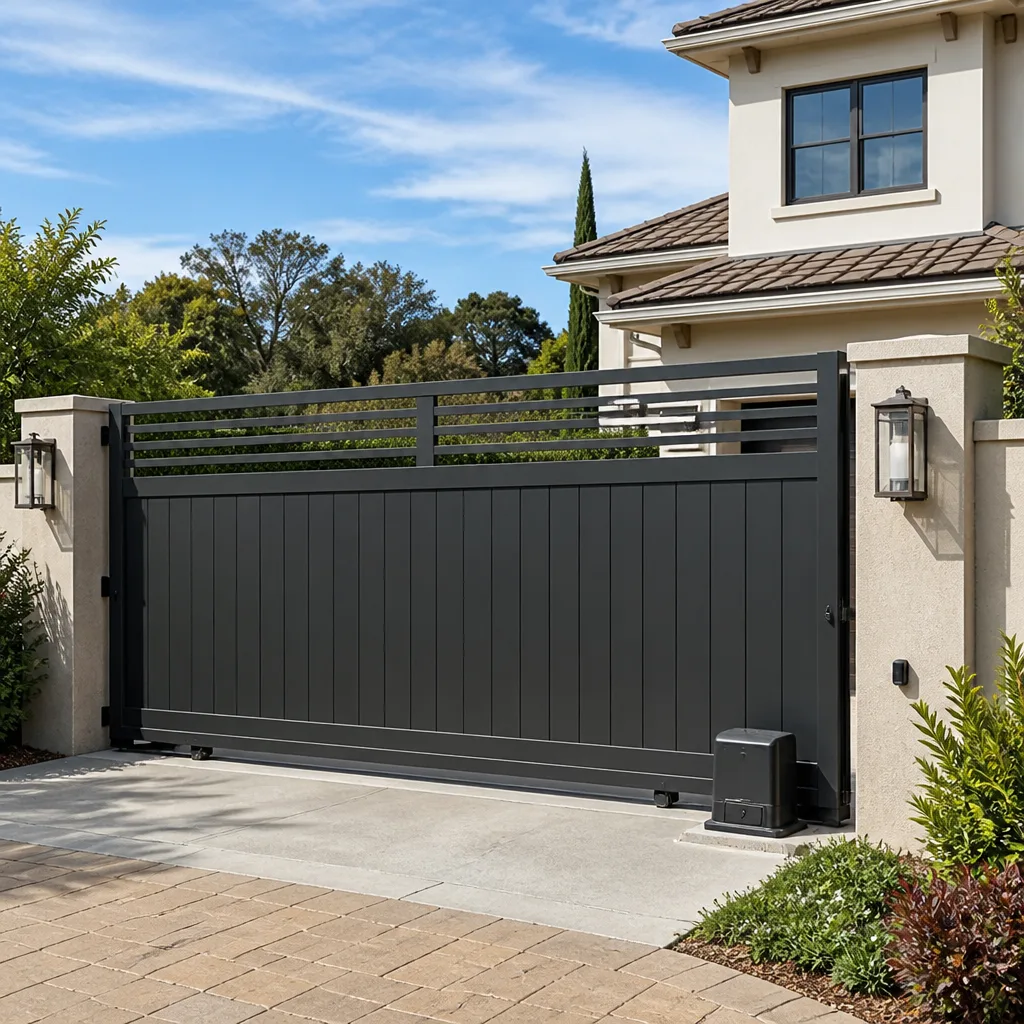 Sliding driveway gates
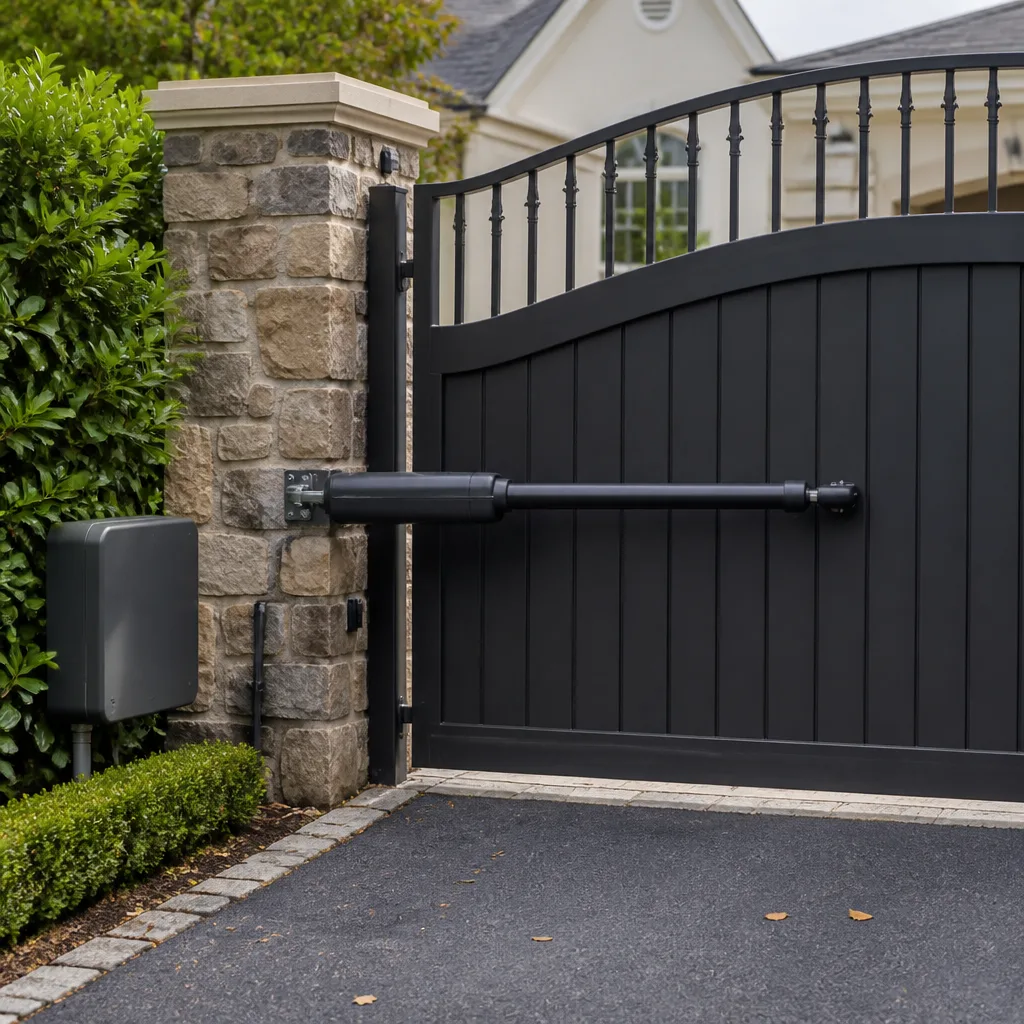 LiftMaster operators
Free on-site gate assessment - hinges, posts, and your LiftMaster or Nice gate operator checked before anything is quoted
The assessment is free and the quote is the invoice.
Get your free estimateGate Repair Maintenance Checklist for Redlands Homeowners
Most gate maintenance advice online gets one thing wrong right out of the gate: it treats every climate the same. The white lithium grease a homeowner in the Pacific Northwest swears by behaves completely differently on a Redlands afternoon. When a metal gate sits in 100°F sun, its surface climbs well past 130°F. Standard white lithium liquefies at that temperature. It runs off the hinge, takes the dirt with it into the bearing, and leaves the joint drier than it started. This guide is built around what actually degrades a gate in Redlands: sustained heat, fine airborne dust, dry wind events, and the slow oxidation that follows. You’ll learn which tasks are genuinely worth doing monthly, which ones belong on a quarterly rhythm, and which ones you should never touch yourself in the first place.
Quick Answer
A useful Redlands gate maintenance routine has three layers. Monthly, you check hinge lubrication, clear the track path, and eyeball the operator housing for dust buildup. Quarterly, you tighten hardware, test safety sensors, and inspect electrical connections for oxidation. Annually, you call a gate technician for a full-system inspection, battery backup test, and operator calibration. Most homeowners can safely handle the cleaning and visual checks. Anything involving wiring, control boards, or load-bearing hinge adjustment belongs with a specialist.
Styles & brands we work with
- Wrought iron
- Wood & steel frame
- Farm & ranch
- Sliding driveway gates
- LiftMaster operators
Table of Contents
- Why Redlands Weather Demands a Different Checklist
- Monthly Maintenance: 20 Minutes That Prevent Most Failures
- Quarterly Maintenance: The Deep-Clean Cycle
- Annual Maintenance: What a Technician Should Handle
- Dust Infiltration: The Operator Housing Inspection Sequence
- Electrical Connection Checks After Dry Wind Events
- DIY vs. Professional: Where the Line Sits
- Common Mistakes to Avoid
- When to Call a Professional
- Frequently Asked Questions
Why Redlands Weather Demands a Different Checklist
Redlands sits in the Inland Empire’s thermal belt. Summer temperatures routinely cross 100°F, and the sun here doesn’t just warm a gate, it bakes it. Metal surface temperatures on a dark iron or steel gate in direct afternoon sun can exceed 140°F. That single fact changes your lubrication choices, your inspection schedule, and your expectations for how long components last.
Dust is the second factor. The San Bernardino Valley’s fine particulate dust, stirred by Santa Ana-adjacent wind events, doesn’t just coat the outside of a gate. It works its way into operator housings, chain drives, and hinge bushings. Left unchecked, dust mixes with lubricant to form an abrasive paste that accelerates wear on every moving surface.
The third factor is what doesn’t happen here. Redlands winters are mild. You’re not fighting freeze damage, snow load, or road salt. That means the checklist items a Minnesota homeowner prioritizes, things like ice dam clearing or seasonal recalibration for temperature swings, are irrelevant to you. Your maintenance energy goes toward heat management and dust control instead.
A gear that runs dry in July fails faster than a gear that runs dry in January, because heat thins whatever lubricant remains and expansion loosens tolerances. This is why a maintenance schedule written for a coastal or cold-climate gate simply won’t serve you. The units that last longest in Redlands are the ones whose owners treat dust as a mechanical threat, not a cosmetic one.
Monthly Maintenance: 20 Minutes That Prevent Most Failures
Monthly maintenance is about catching small problems before they become repair calls. Set a recurring calendar reminder. Twenty minutes, once a month, covers the ground that prevents most avoidable breakdowns. Here’s the sequence, in order.
- Clear the track path and ground rail. Use a stiff brush or blower to remove leaves, twigs, gravel, and sand from the path a slide gate travels. A pebble in the track is a grinding point. On swing gates, clear the arc the gate swings through.
- Wipe down hinge and bearing surfaces. Use a clean, dry rag to remove old lubricant and accumulated dust from hinge pins, wheel bearings, and any exposed moving joint. Don’t skip this step. Adding fresh lubricant over contaminated lubricant makes the paste problem worse.
- Apply the correct high-temperature lubricant. For Redlands summers, use a dry-film lubricant, synthetic high-temp grease rated to at least 300°F, or a heavy-bodied silicone paste. Avoid white lithium. Apply sparingly to hinge pins and bearing surfaces, then wipe away excess. Excess lubricant attracts dust.
- Eyeball the operator housing. Look at the seams, gaskets, and cable entry points on the motor and control box. If you can see a visible dust line or a gap, note it. We’ll cover the deeper inspection in the quarterly section.
- Test the safety sensors. Close the gate and pass your hand or a broomstick through the beam path. The gate should stop and reverse. If it doesn’t, that’s a same-day service call, not a monthly checkbox.
- Listen. Operate the gate once from open to close. A grinding sound, a high-pitched squeal, or a rhythmic thumping that wasn’t there last month is your earliest warning of mechanical wear. Write down what you hear. A technician can use that note to pinpoint the failing component before it seizes.
Quarterly Maintenance: The Deep-Clean Cycle
Every three months, set aside about an hour. This is the cycle that deals with the dust problem Redlands throws at every exterior mechanism. The quarterly cycle is where most of the real damage prevention happens.
The operator housing sequence
First, kill power to the operator at the breaker or disconnect switch. Never open an operator housing while it’s live. Then remove the outer cover and look inside. What you’re looking for is a fine film of dust on the circuit board, the cooling fan, and the wire terminals. A light dusting is normal. A thick coating means the housing’s gasket or cable seals need attention.
Use a can of compressed air or a soft brush to gently remove dust from the circuit board and fan. Do not use a shop vacuum that can generate static, and do not touch the board with metal tools. Static discharge can fry a control board instantly.
Hardware tightening
Heat expansion and daily operation slowly back out bolts and fasteners. Work through the gate systematically: hinge bolts, hinge plate screws, bracket hardware, track anchors, wheel assemblies, and the operator mounting plate. Use the correct wrench or socket. If a bolt has wallowed out its hole or stripped threads, don’t just crank it tighter, that’s a sign the component needs replacement.
Battery backup check
If your operator has a battery backup, test it quarterly. Unplug or switch off AC power and cycle the gate. A healthy battery opens and closes the gate at normal speed. A sluggish cycle means the battery is nearing the end of its service life, typically three to five years in Redlands heat. Replace it before the first power outage, not after.
Annual Maintenance: What a Technician Should Handle
Once a year, a professional inspection catches what visual checks can’t. A technician brings torque wrenches, diagnostic tools, and the experience to spot failure patterns you won’t notice. We recommend an annual service visit regardless of whether anything seems wrong. The goal is to find wear while it’s still a maintenance item, not a repair.
During an annual gate service in Redlands, a technician should:
- Check and set torque on all major fasteners, including hinge pins, operator mounts, and wheel axles
- Test operator force settings to confirm the gate stops safely on obstruction without exceeding torque limits
- Inspect and calibrate safety sensors, photo eyes, and loop detectors
- Test battery backup capacity under load
- Inspect all wiring for insulation cracks, corrosion at terminals, and rodent damage inside housings
- Lubricate all pivot points with the correct high-temperature lubricant
- Check gearbox oil level where applicable
- Measure drivetrain wear on chain, belt, or rack-and-pinion systems
- Verify that the gate opens and closes within manufacturer speed specifications
- Test all remote controls, keypads, and access devices
This is also the right moment to ask about operator firmware updates or known issues with your specific brand. Units from LiftMaster, FAAC, Elite, and Mighty Mule all have their own service bulletins. A technician who works across those brands knows what to check.
Dust Infiltration: The Operator Housing Inspection Sequence
In the San Bernardino Valley, dust is the silent killer of gate operators. It coats circuit boards and acts as an insulating blanket that traps heat. It clogs cooling fans. It works into limit switches and causes false readings. And when dust combines with the heat inside an operator housing, you get a slow bake that shortens component life measurably.
Here’s the inspection sequence we use on every automatic gate in the Redlands area. You can do the first two steps yourself monthly. Steps three through five belong in the hands of someone who works on these systems daily.
- Inspect the housing seal. Look at the gasket around the operator cover. In Redlands heat, rubber gaskets dry and crack within a few years. A cracked gasket is an open door for dust. If you see cracking or flattening, the gasket needs replacement.
- Check cable entry points. Cables enter the housing through grommets or conduit fittings. Dust follows any gap. A snug-fitting grommet that has shrunk in the heat leaves a crescent-shaped opening. Shine a flashlight. If you see daylight, you’ve found an infiltration point.
- Open the housing and dust the interior. With power off, a technician will gently clear dust from the circuit board, transformer, terminals, and fan. A can of compressed air works well. So does a soft anti-static brush. No solvents, no liquids, no shop vacs.
- Inspect the cooling fan. If your operator has one, it needs to spin freely. A fan caked in dust runs hot and slow, which defeats its purpose. We find more dead fans in the Inland Empire than in coastal service areas because of the dust load.
- Inspect terminal torque. Heat expansion and contraction loosen wire terminals over time. A loose terminal creates resistance, resistance creates heat, and heat creates fire risk and intermittent failures. A technician will snug every terminal to the manufacturer’s specified torque.
Electrical Connection Checks After Dry Wind Events
Redlands gets significant dry wind events. The air moving through the San Bernardino Valley during these stretches is warm, arid, and carries fine dust. That combination has two effects on an automatic gate system. First, the wind deposits dust inside outdoor electrical enclosures. Second, the dry air accelerates oxidation on exposed copper terminals and wire ends.
Oxidation is the enemy of a low-voltage control circuit. A thin layer of corrosion on a terminal adds resistance. The gate runs sluggishly, the operator draws more current, and eventually the system faults out intermittently. By the time you notice the gate acting strangely, the connection may already be compromised.
After a notable wind event, do this:
- Visually inspect any exposed wiring. Look at the junction boxes, the keypad, the safety sensors, and the ground wire at the operator. Green or white powdery residue on copper is oxidation. Blackened insulation is heat damage.
- Check the keypad and intercom housing. These are entry points for wind-driven dust. A sticky key or a button that double-triggers is often dust behind the membrane. It’s a cleaning issue, not a programming issue, until it becomes one.
- Run the gate through five full cycles. Watch for hesitation, relay chatter, or a lag between the command and the movement. Intermittent faults that show up after a wind event usually trace back to a compromised connection.
If you find visible oxidation or heat damage, don’t attempt to clean or re-terminate it yourself. Low-voltage gate wiring runs through a control board that’s expensive to replace and easy to fry. This is electric gate repair territory. A technician can clean the connection, re-terminate the wire, and confirm the board is still healthy.
DIY vs. Professional: Where the Line Sits
Some maintenance tasks are genuinely homeowner-level work. Others are not, and the distinction matters for two reasons: your safety and your operator warranty. Here’s the honest division.
Safe to do yourself
- Clearing the track path and gate arc of debris
- Wiping down hinge pins and visible bearing surfaces before lubrication
- Applying the correct high-temperature lubricant to hinge pins (with the gate stationary and secured)
- Testing safety sensors with a non-conductive object
- Listening for new sounds during normal operation
- Visually inspecting housing gaskets and cable entry points for gaps
- Checking that the gate closes fully and the lock engages
Leave to a technician
- Opening an operator housing while power is connected
- Cleaning or touching a circuit board
- Adjusting hinge or wheel alignment
- Working on chain tension or drive belts
- Re-terminating any wire
- Replacing a safety sensor or photo eye
- Adjusting operator force or travel limits
The operator warranty question is real. Most manufacturers, including the major gate repair brands we service, void warranty coverage if a non-authorized person opens the housing or modifies the electrical system. If your operator is still under warranty, keep your hands off the electrical side entirely. If it’s out of warranty, the risk is to the board itself: one shorted wire during a DIY wiring project can turn a $150 service call into a $900 board replacement.
Common Mistakes to Avoid
- Using white lithium grease in summer. It liquefies around 130°F. Your gate hits that temperature standing still in a Redlands July. Use a high-temp synthetic grease or dry-film lubricant instead.
- Lubricating over dirt. Adding fresh lubricant to a dirty hinge presses grit into the bearing surface. Wipe first, then lubricate. Ten seconds of wiping doubles the life of the joint.
- Ignoring a slow gate. A gate that starts moving slower than it did last month is telling you something. It could be a worn capacitor, a binding wheel, or low voltage at the motor. None of those get better on their own.
- Adjusting limit switches or force settings by feel. Operators have specific torque requirements for safety. An over-torqued gate is a crushing hazard. This is a calibration job for a technician with the right tools.
- Spraying the circuit board with contact cleaner. Not all contact cleaners are safe for conformal-coated boards. Using the wrong chemical can strip the protective coating and create shorts. Dusting with air and a brush is the safe approach.
- Forgetting the battery backup. It only works if it’s tested. A battery that hasn’t been cycled in a year will often fail on the first real outage, which is exactly when you need it.
- Skipping the quarterly cycle because nothing looks wrong. Dust damage is cumulative and invisible until it isn’t. By the time a board fails from dust-induced heat, the fix is a replacement, not a cleaning.
When to Call a Professional
Some conditions warrant a same-day call rather than a maintenance note. A gate that won’t open or won’t close is a security issue and an access problem. A gate that reverses randomly, opens on its own, or ignores the remote may have a failing control board or a wiring fault. A gate that grinds loudly while moving has a mechanical failure in progress, continuing to run it makes the repair more expensive. Any burning smell or visible smoke from the operator means cut power immediately and call. And if your safety sensors aren’t reversing the gate on obstruction, you have a crush hazard. That’s not a scheduling question. Gate Repair Redlands offers free estimates in Redlands, call (844) 405-5765. We answer 24/7. Fast dispatch from 7am to 7pm, Sunday through Friday.
Frequently Asked Questions
Monthly during the hot season is the safest rhythm in Redlands. High summer temperatures thin lubricants and accelerate evaporation, so a hinge that’s perfect in April may be running dry by July. Wipe each hinge pin clean, apply a high-temp lubricant, and wipe off the excess every month from May through September. In the cooler months, every other month is usually sufficient. Call (844) 405-5765 if you’re not sure which lubricant to use on your specific gate, estimates are free.
Use a dry-film lubricant, a synthetic high-temp grease rated to at least 300°F, or a heavy-bodied silicone paste. Avoid white lithium grease entirely in Redlands, it liquefies at the surface temperatures your gate reaches in direct summer sun and leaves the joint under-lubricated. For chain drives, a chain-specific spray lubricant applied lightly works well. We can recommend the right product for your gate system during a service visit.
Yes. An annual professional inspection catches wear that visual and audible checks miss, including terminal torque, force settings, battery backup performance, and internal operator condition. What you spend on an annual service visit protects you from repair costs and replacement bills down the line. We recommend a full-system technical inspection every 12 months on every gate in the Redlands area.
Excess heat increases resistance in electrical circuits and reduces motor efficiency. On a very hot Redlands afternoon, some slowdown is normal. If the gate is noticeably slower all day, or struggles to reach the fully open or closed position, that points to a real issue: a failing capacitor, degraded wiring, or a binding mechanical component. A technician can diagnose it quickly.
With regular maintenance, most operators in the Inland Empire last between 8 and 15 years. The wide range comes down to installation quality, exposure, and whether the owner kept up with the quarterly dust cycles. Operators that live inside a sealed housing and get annual service tend toward the longer end. Operators that get ignored and bake in direct sun fail earlier. If you’re weighing repair versus replacement, call for an honest assessment of what your current system actually needs.
Yes. We work on the brand you already own, including LiftMaster, FAAC, Elite, and Mighty Mule operators, along with the full range of residential and commercial systems. We don’t push replacements to sell a preferred brand. We diagnose what the system actually needs, from the motor to the hinge, and give you a straight answer. Call (844) 405-5765 for a free estimate and a brand-agnostic diagnosis.
The Bottom Line
Redlands gate maintenance succeeds or fails on three details: the right high-temp lubricant, a real commitment to dust control, and knowing where your DIY line sits. The monthly cycle takes 20 minutes and stops most avoidable failures. The quarterly deep-clean is what keeps Inland Empire dust from becoming a repair bill. The annual professional inspection is the insurance policy that catches what the other checks can’t. Do all three, and a gate system that would otherwise fail at year seven will run long past year ten.
Written by the team at Gate Repair Redlands, serving Redlands since 2018.
See the difference
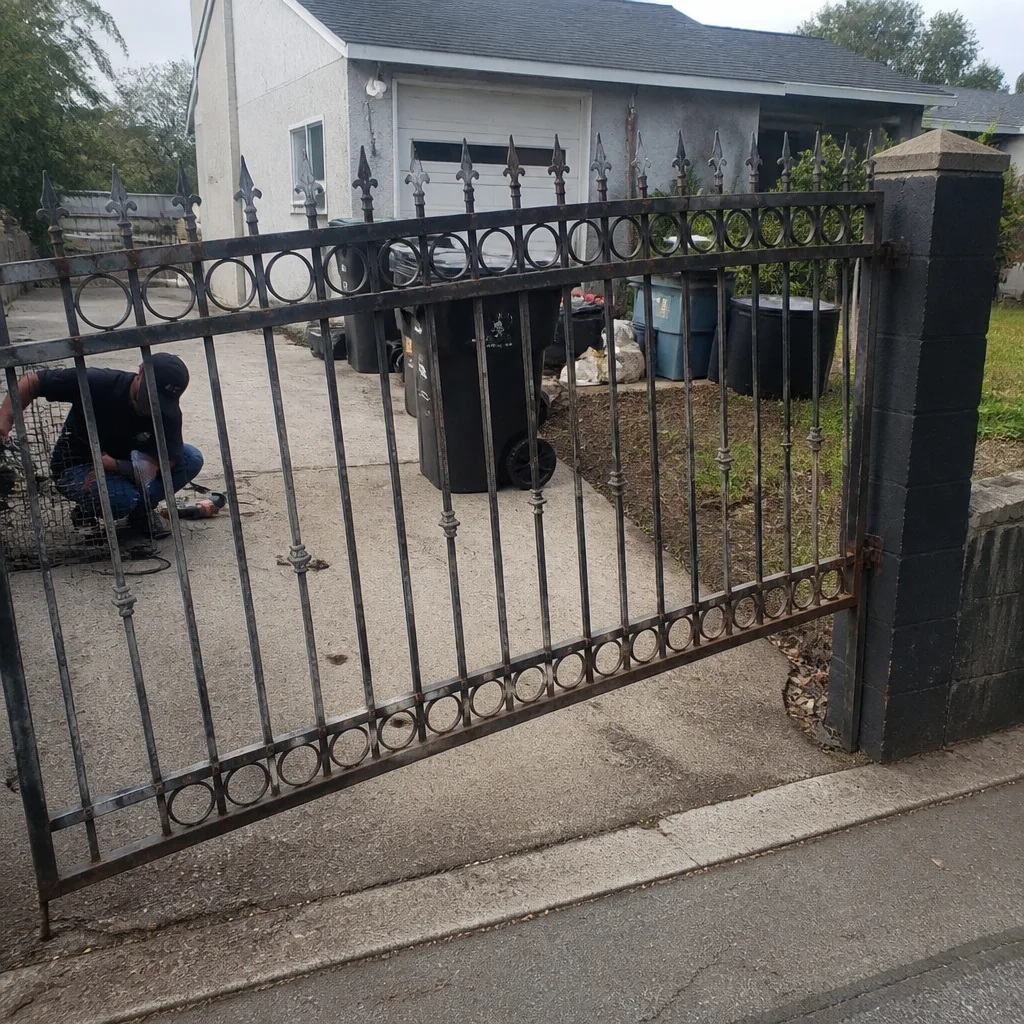 Before
 After
 Before
 After
 Before
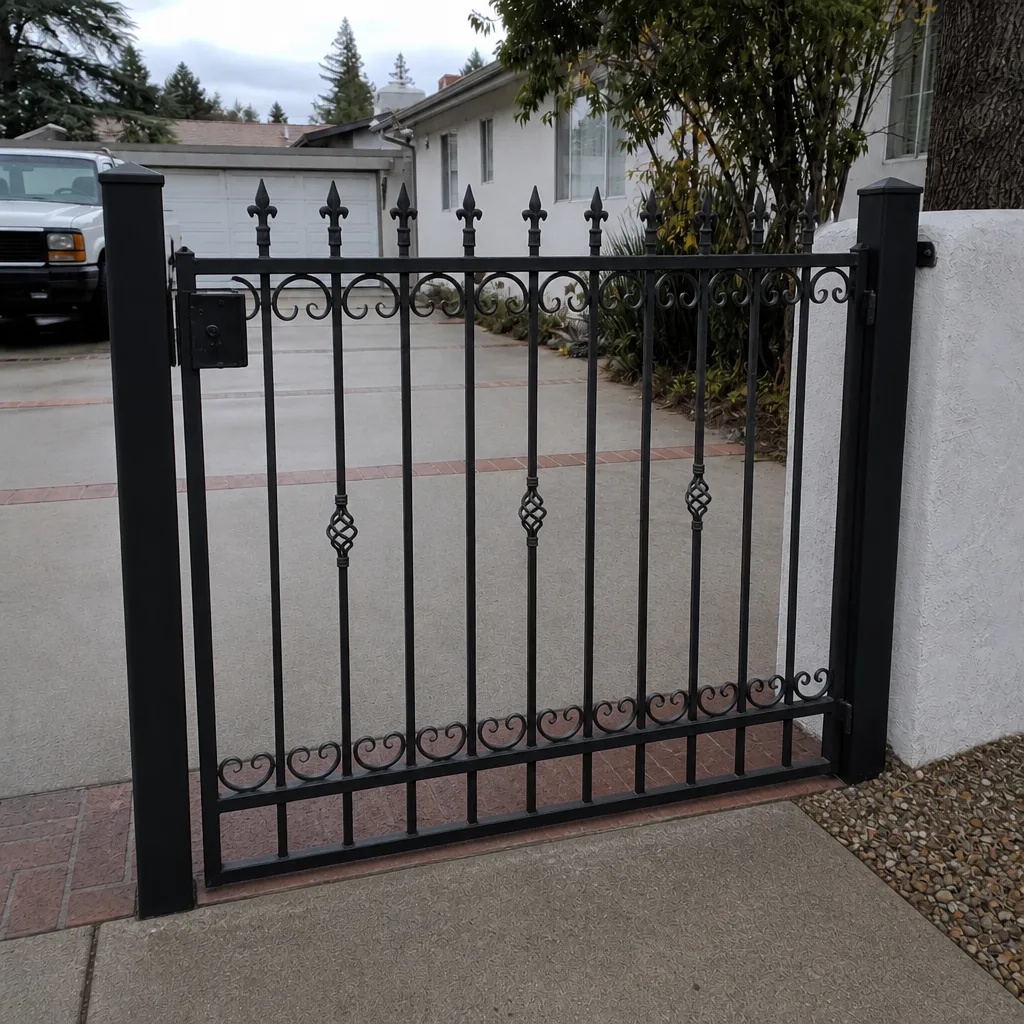 After